Bracket Debonding Setup
Written & reviewed by the Equate Technical Team · Updated
A bracket debonding setup typically includes a ligature cutter, Weingart, distal end cutter, debonding plier or direct bond remover, ceramic bracket remover if needed, band removing plier, adhesive removing plier or tungsten carbide finishing bur, and polishing materials. Brackets are removed with controlled bond failure, bands are lifted off, then residual adhesive is removed and enamel polished.
Step by step
- 1
Prepare and explain
Explain the procedure to the patient, check the treatment result and take any final records. Protect the airway and have a gauze or cotton roll ready to catch brackets.
- 2
Remove ligatures and archwires
Cut steel ligatures with a ligature cutter, remove elastomeric modules, and lift the archwire out with a Weingart plier, cutting it into sections if needed.
- 3
Remove brackets
Seat the debonding plier on the bracket wings or base edge and apply slow, controlled force so the bond fails at the bracket–adhesive interface. Use a ceramic bracket remover and the manufacturer's method for ceramic brackets.
- 4
Remove bands
Lift molar bands with a band removing plier, plastic tip on the occlusal surface or cusp and metal beak under the gingival edge.
- 5
Remove residual adhesive
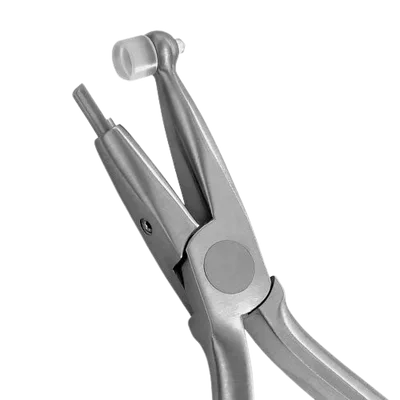
Remove bulk composite with an adhesive removing plier, then finish with a tungsten carbide bur at low speed with light pressure, checking with dry, well-lit enamel.
- 6
Polish and assess
Polish the enamel, check for white spot lesions or enamel damage, and record findings before retainer impressions or scans.
Tray checklist
| Instrument | Purpose |
|---|---|
| Ligature cutter | Cut steel ties |
| Weingart plier | Remove archwire |
| Distal end cutter | Section archwire if needed |
| Debonding plier / direct bond remover | Remove metal brackets |
| Ceramic bracket remover | Remove ceramic brackets |
| Band removing plier | Remove molar bands |
| Adhesive removing plier | Remove bulk adhesive |
| TC finishing bur, polishing cups | Final clean-up and polish |
Protecting the enamel
Research on debonding generally shows that purpose-made debonding pliers used correctly produce few new enamel cracks, and that the cracks that do occur are linked to higher bond strengths. Improvised instruments such as Weingarts or ligature cutters used to pry brackets off, and pliers that stress the bracket base at the enamel interface, are associated with more damage. Ceramic brackets need particular care because they do not flex and can fracture.
During adhesive removal, tungsten carbide burs at low speed are widely regarded as efficient with limited enamel loss; adhesive removing pliers are useful for bulk removal before finishing.
Common mistakes
- Rushing the bracket removal with sudden force instead of slow, steady pressure.
- Using worn debonding tips that slip and gouge enamel or gingiva.
- Leaving adhesive remnants that stain or trap plaque.
- Over-polishing with high-speed instruments that remove enamel.
The Equate difference
Equate supplies every instrument in this tray — angulated TC debonding pliers, wide direct bond removers with replaceable carbide tips and Teflon pads, a 45° ceramic bracket remover, adhesive removing pliers and 14 band removers — at a typical list price about 44–52% below premium European RRPs.
Equate Bracket Debonding Setup options
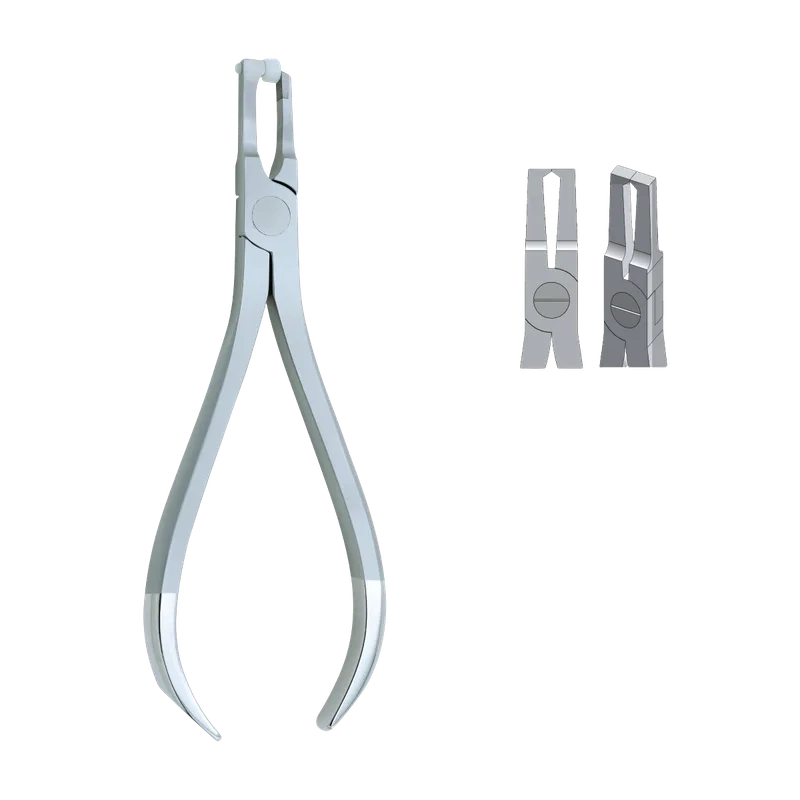
Direct Bond Bracket Remover Plier
EI-0684
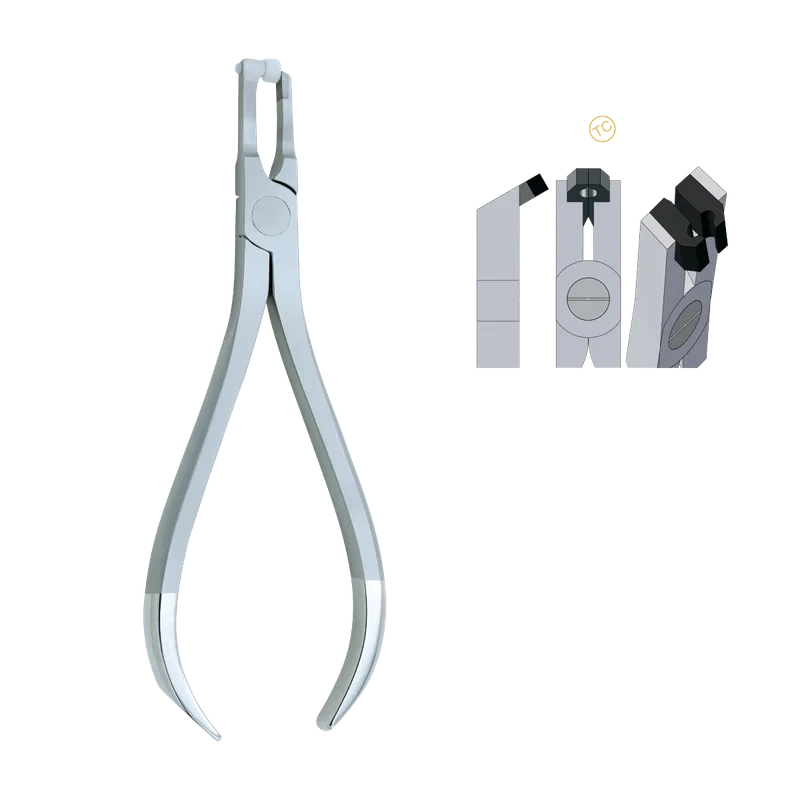
Angulated Debonding Pliers (TC)
EI-0685
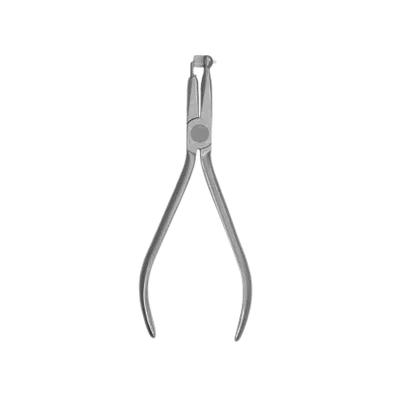
Adhesive Removing Pliers (TC)
EI-0686
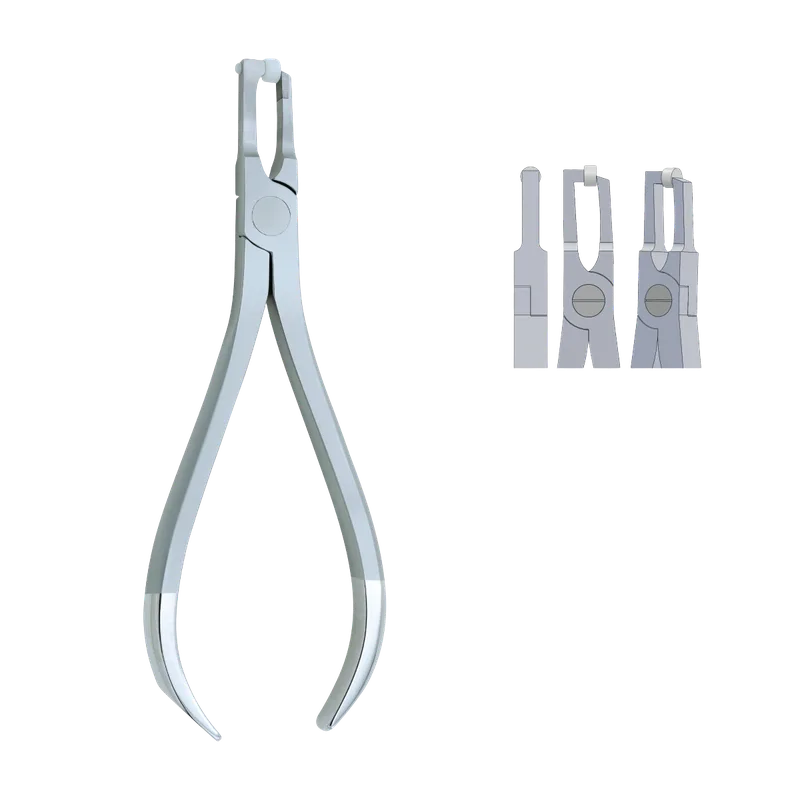
Adhesive Remover Changeable Parts - 5 Sets (Carbide Tip + Teflon Pad)
EI-0687
Posterior Band Removing Pliers Long Handle
EI-0696
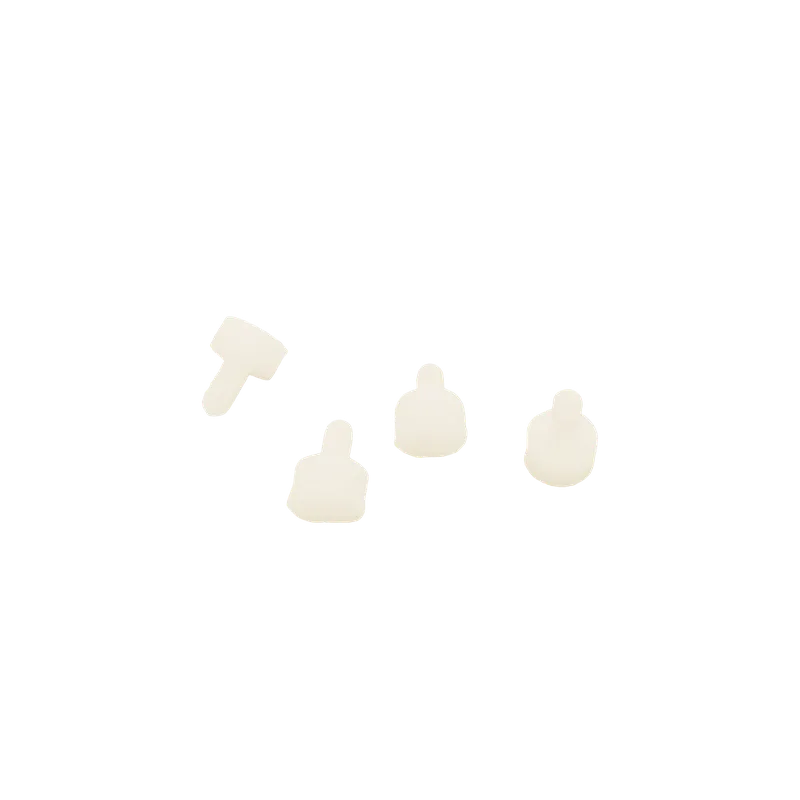
Plastic Replacement Tips for Band Remover (5 pcs)
EI-0697
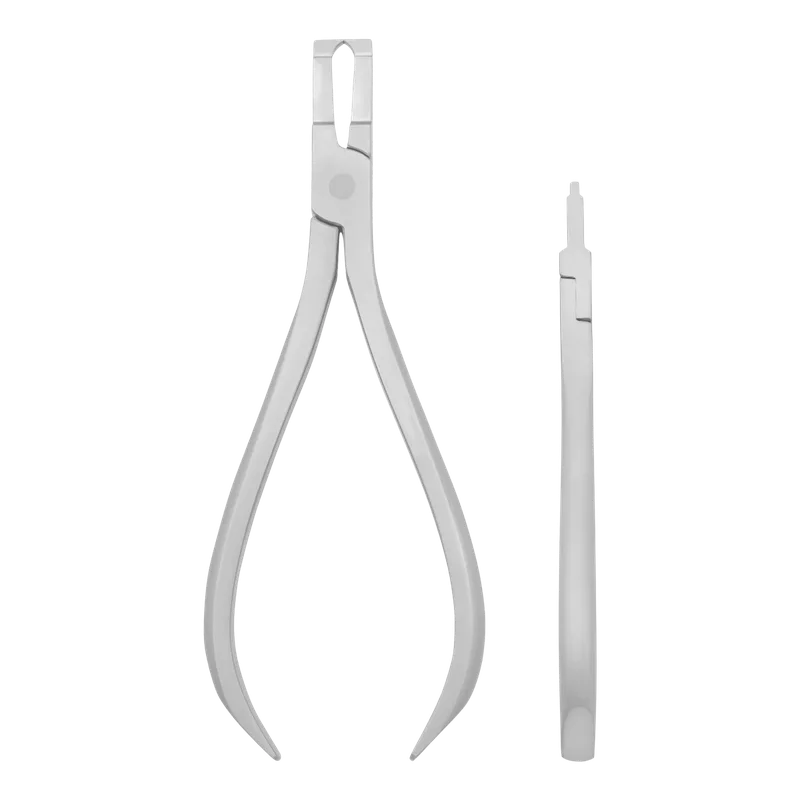
Bracket Remover with Narrow Tip
EI-2579
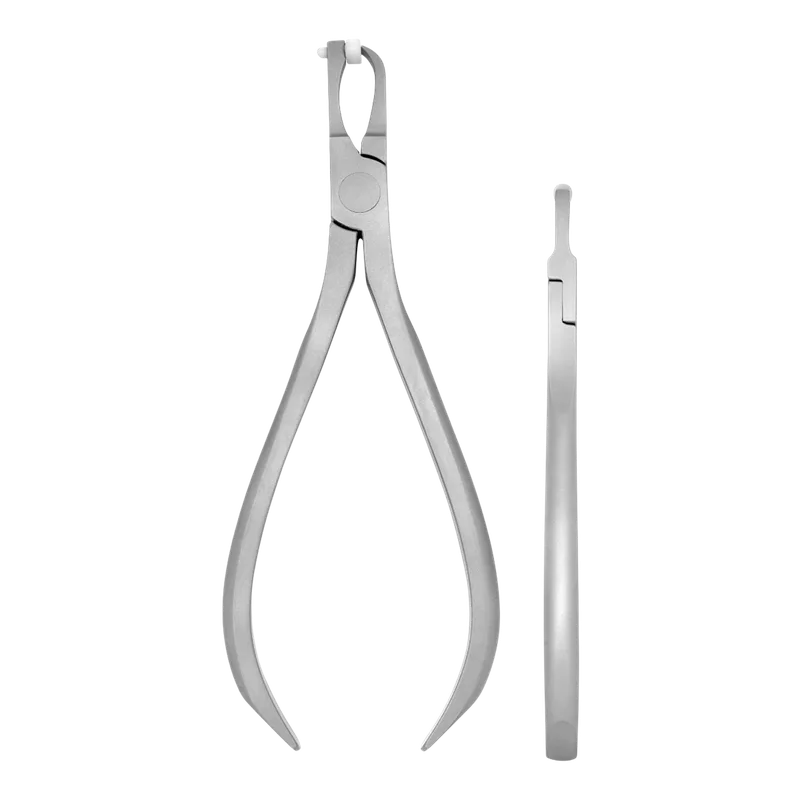
Posterior Band Removing Pliers Long Handle
EI-2580
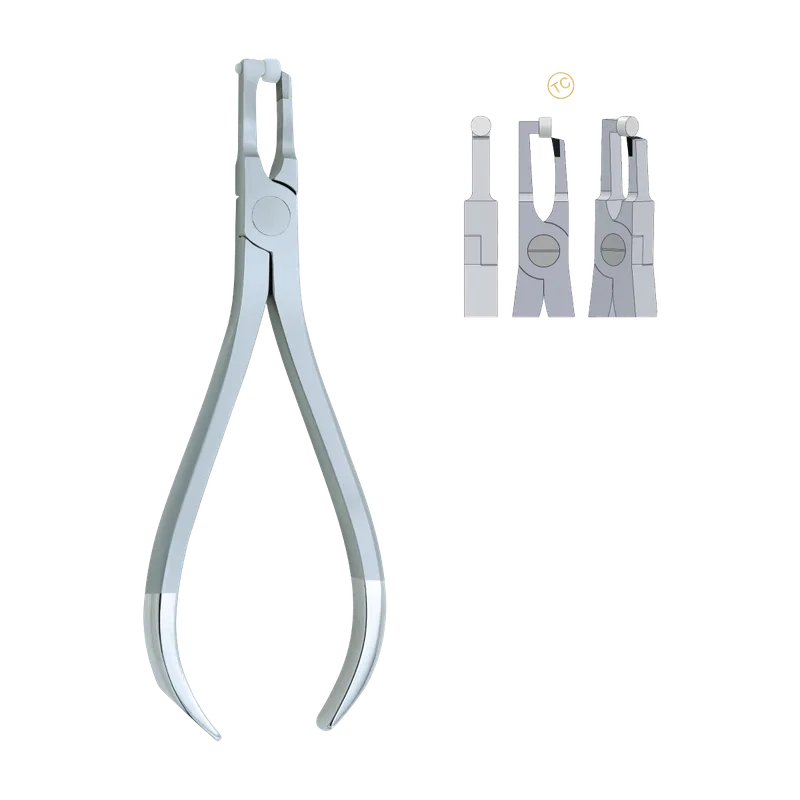
Band Removing Pliers Short - Tungsten Carbide Tipped
EI-2581
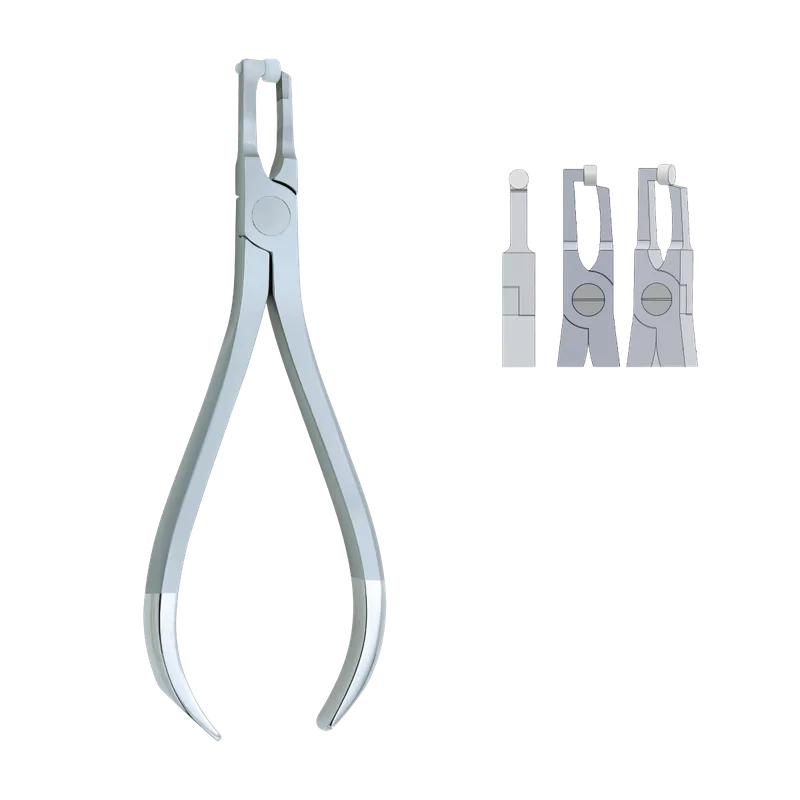
Band Removing Pliers Short
EI-2582
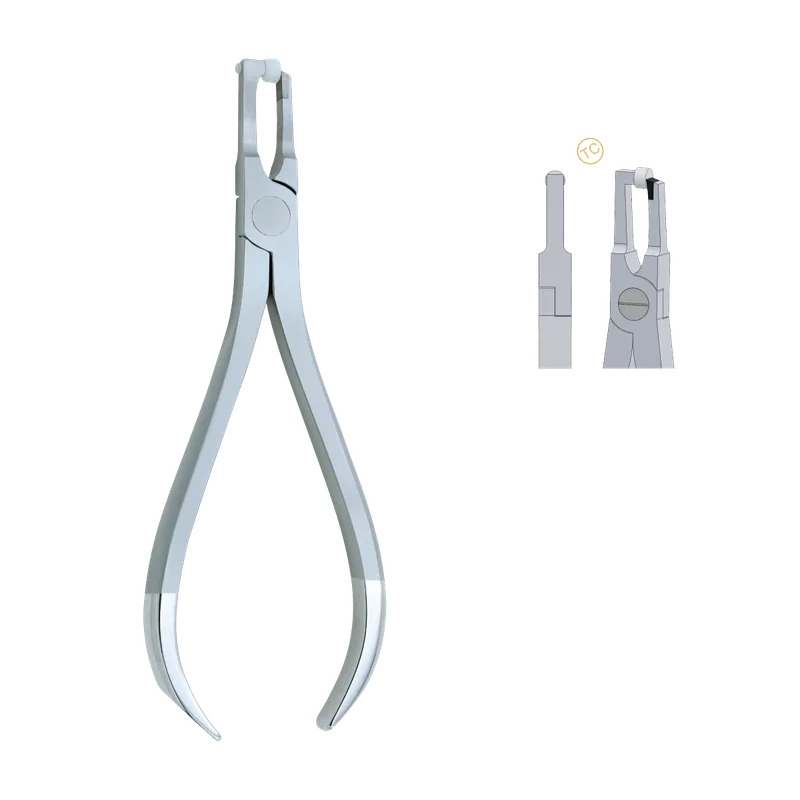
Posterior Band Removing Pliers Long Handle (Tungsten Carbide)
EI-2583
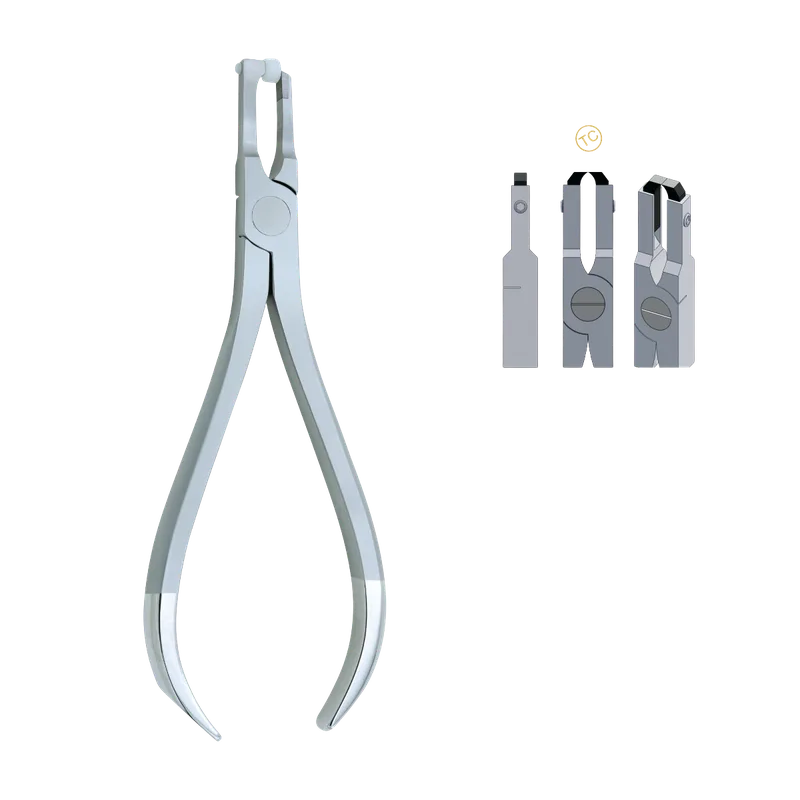
Direct Bond Remover - Wide Tungsten Carbide
EI-2584
Frequently asked questions
What instruments are needed for debonding?
A ligature cutter, Weingart, debonding plier or direct bond remover, a ceramic bracket remover if needed, a band remover, an adhesive removing plier or carbide bur, and polishing materials.
How long does debonding take?
Typically 30 to 60 minutes for a full fixed appliance, including adhesive removal and polishing, depending on the case and bracket type.
Is debonding safe for enamel?
Yes, when appropriate debonding pliers and careful adhesive removal techniques are used. Enamel damage is uncommon and mainly associated with prying or very high bond strengths.
How is adhesive removed after debonding?
Bulk adhesive with an adhesive removing plier, then a tungsten carbide finishing bur at low speed, followed by polishing.
Are ceramic brackets harder to remove?
They require more care because ceramic does not deform and can fracture. Use a ceramic bracket remover and follow the bracket manufacturer's recommended technique.
References
- The use of debonding pliers in the removal of ceramic brackets: force levels and enamel cracks — American Journal of Orthodontics and Dentofacial Orthopedics, 1995
- The Effects of Composite Resin Types and Debonding Pliers on the Amount of Adhesive Remnants and Enamel Damages: A Stereomicroscopic Evaluation — PMC
- Differences of enamel surface after bracket debonding and adhesive removal with tungsten carbide, steel bur, and adhesive removing plier — PMC
- Epidemiological survey of different clinical techniques of orthodontic bracket debonding and enamel polishing — PMC
I am a…