Band Removing Plier
Written & reviewed by the Equate Technical Team · Updated
A band removing plier is an orthodontic plier used to lift cemented molar and premolar bands off the teeth at debond or when replacing a band. One beak carries a cushioned plastic tip that rests on the occlusal surface or cusp; the other is a metal blade that hooks under the band's gingival edge. Squeezing the handles levers the band occlusally.
What it is used for
Molar bands are cemented around the teeth to anchor tubes, headgear tubes, expanders and other attachments. At the end of treatment, or when a band is loose or needs replacing, it must be removed without damaging the tooth or causing the patient discomfort. The band removing plier does this by levering against the occlusal surface through a soft plastic pad while the metal beak pulls the band edge up.
For patients with sensitive teeth, ask them to bite gently on a cotton roll while the band is lifted; this steadies the jaw and spreads the pressure.
Technique
- Place the plastic tip on the occlusal surface or a buccal cusp, protected from the opposing tooth.
- Seat the metal beak under the gingival edge of the band, first on the buccal side for lower molars and the lingual side for upper molars.
- Squeeze gently and steadily; rotate to the other side if the band does not release.
- Support the patient's jaw and keep a finger ready to catch the band.
- Remove residual cement afterwards with a suitable scaler or bur.
Designs compared
| Design | Advantage | Best for |
|---|---|---|
| Short neck / short handle | Compact and controllable | Premolars, small mouths |
| Long neck | Reach to second molars | Posterior bands |
| Long handle posterior | More leverage | Well-cemented molar bands |
| Tungsten carbide tipped | Metal beak resists wear | High-volume practices |
How to choose
Look for a firmly fixed but replaceable plastic tip, since tips wear and must be swapped regularly for hygiene and patient comfort. A long-handle design gives more leverage, which matters when cement holds well. The metal beak should have a fine, slightly hooked edge that slides under the band without catching the gingiva. Carbide tips keep that edge for longer.
Many practices keep a short version for premolars and a long-handle posterior version for molars.
Care
Replace the plastic tip when it is cracked, compressed or discoloured. Clean the joint open, lubricate before autoclaving, and inspect the metal beak edge for chips that could catch soft tissue.
Published work on orthodontic pliers suggests steam autoclaving is generally gentler on stainless steel pliers than prolonged chemical immersion: a small in-vitro pilot study in the Dental Press Journal of Orthodontics found oxidation on only one of two brands after 100 autoclave cycles and more corrosion after 2% peracetic acid, and an earlier study of ligature-cutting pliers found no significant difference in tip wear between steam and dry-heat sterilisation. Both are small studies, so follow each manufacturer's reprocessing instructions.
The Equate difference
Equate offers 14 band removing plier references in short-neck, long-neck and long-handle posterior designs, including tungsten carbide tipped versions and packs of 5 replaceable plastic tips, at a typical list price about 52% below premium European RRPs.
Equate Band Removing Plier options
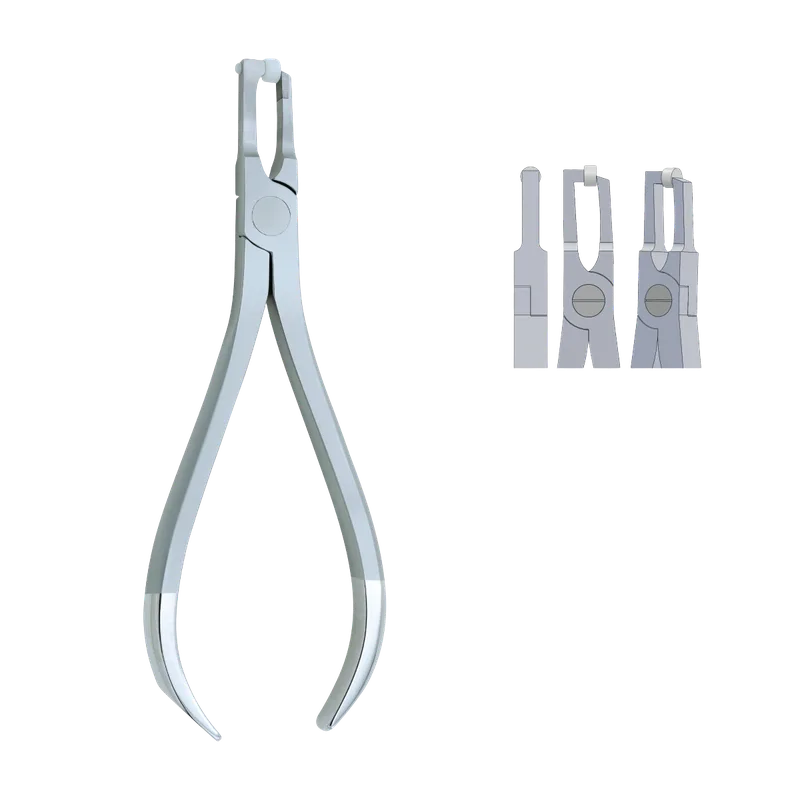
Posterior Band Removing Pliers Long Handle
EI-0696
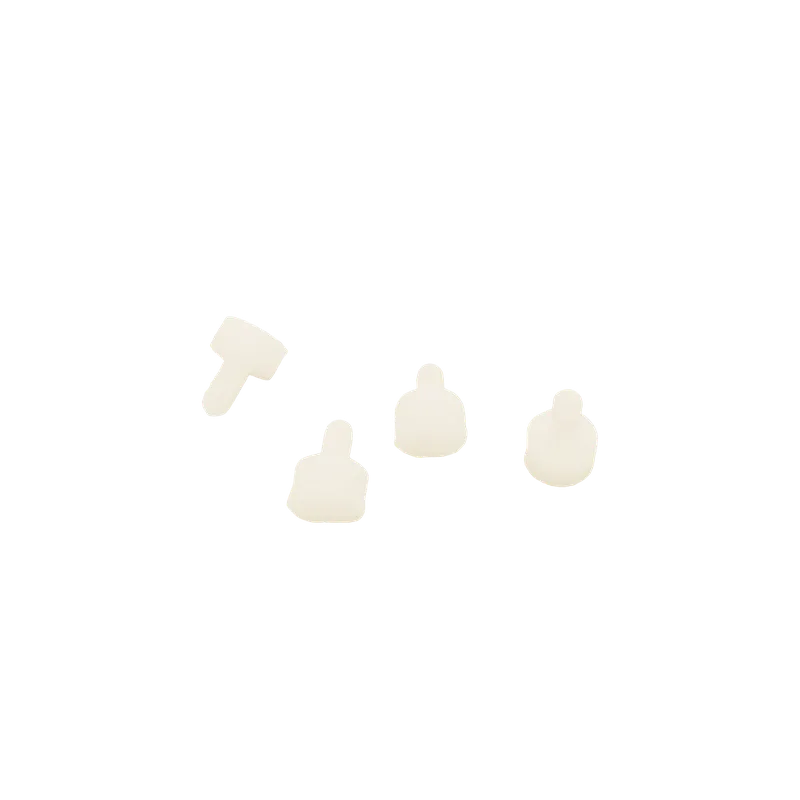
Plastic Replacement Tips for Band Remover (5 pcs)
EI-0697
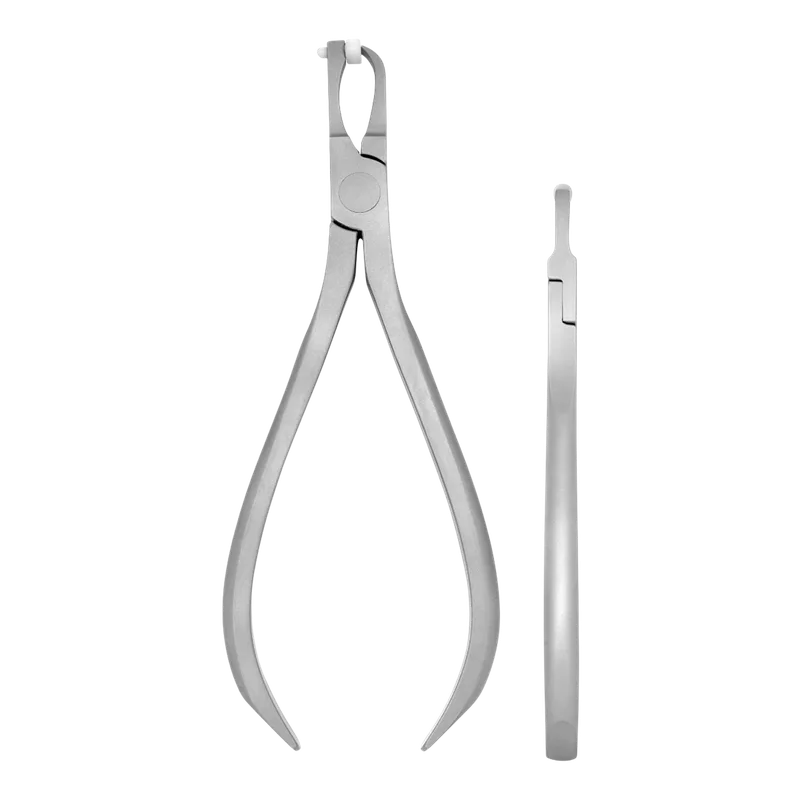
Posterior Band Removing Pliers Long Handle
EI-2580
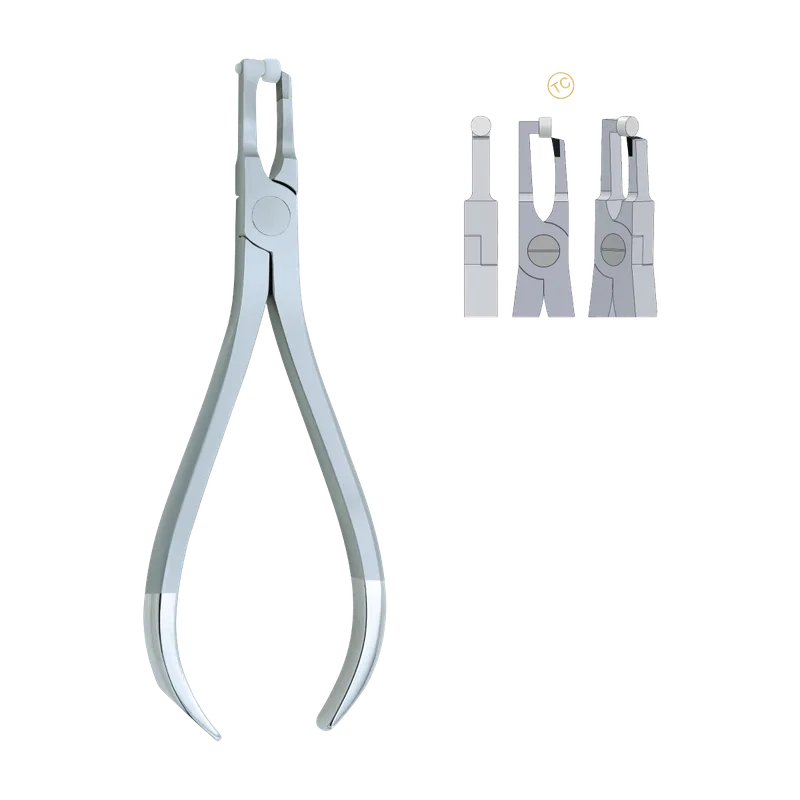
Band Removing Pliers Short - Tungsten Carbide Tipped
EI-2581
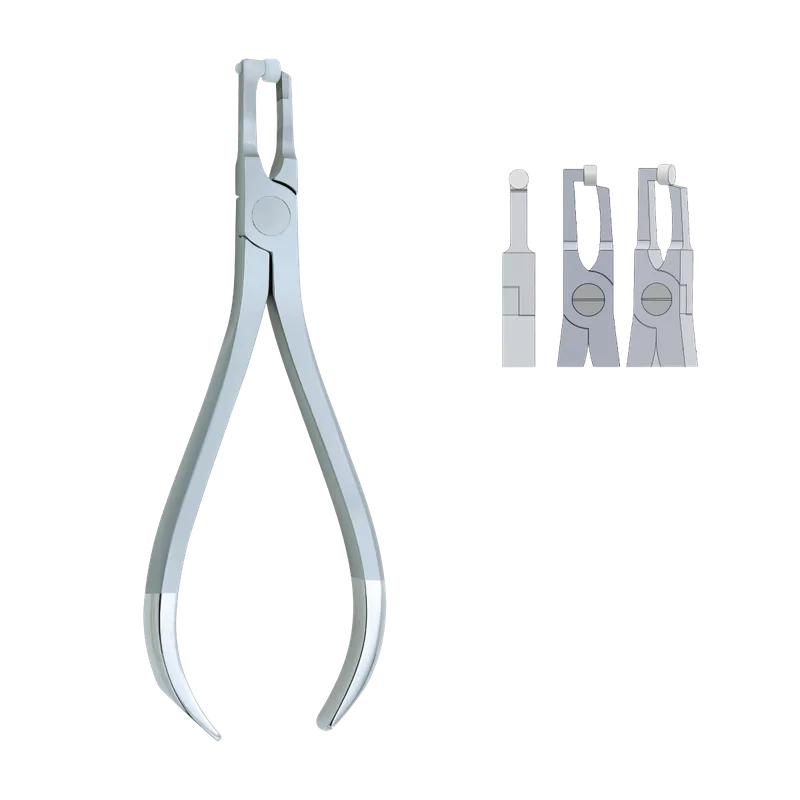
Band Removing Pliers Short
EI-2582
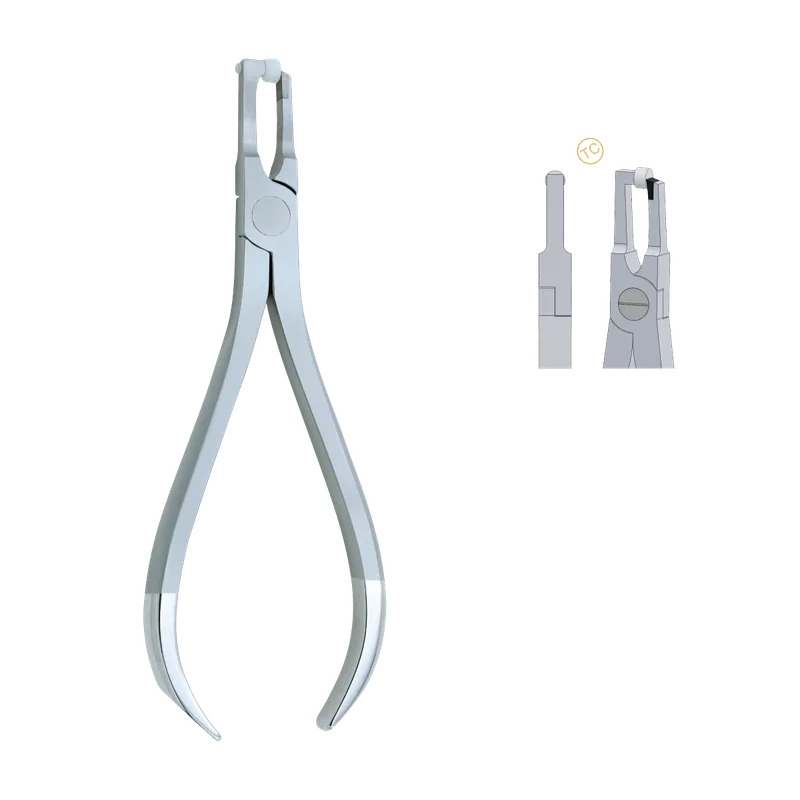
Posterior Band Removing Pliers Long Handle (Tungsten Carbide)
EI-2583
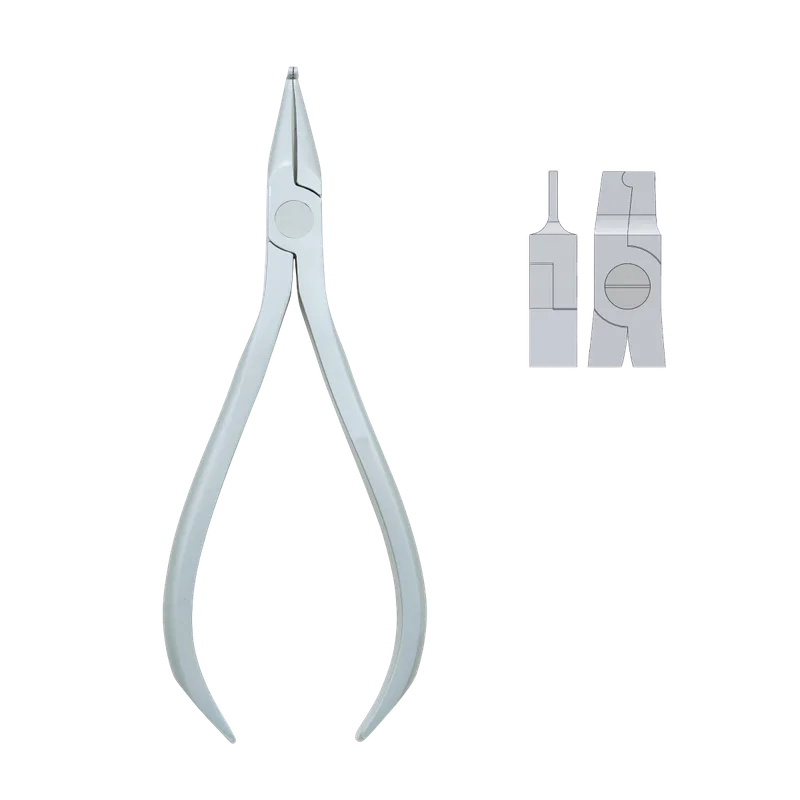
Band Crimping Pliers
EI-2632
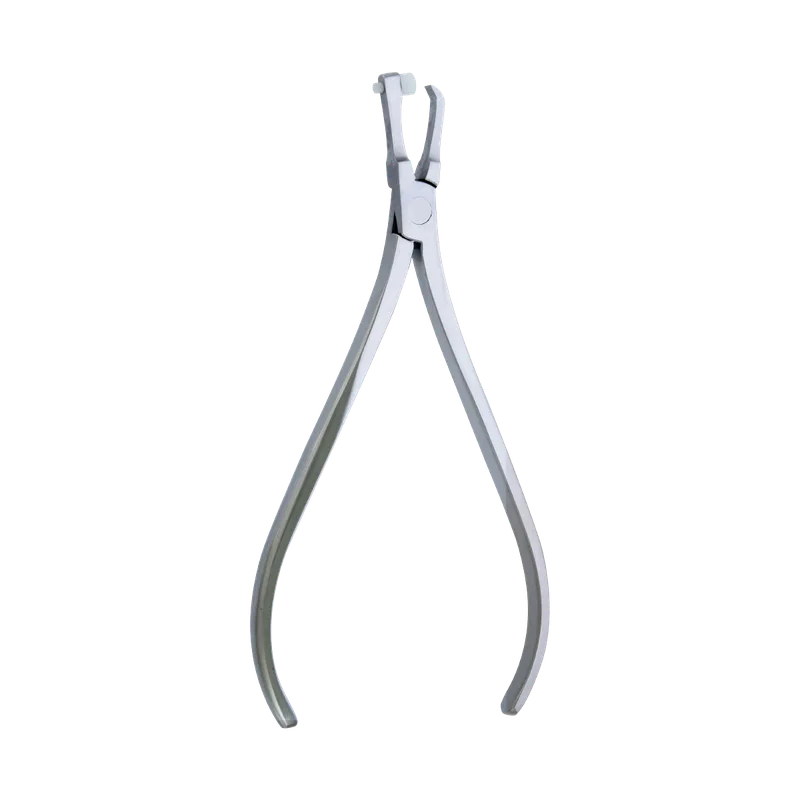
Posterior Band Remover Plier Long Handle
EI-2654
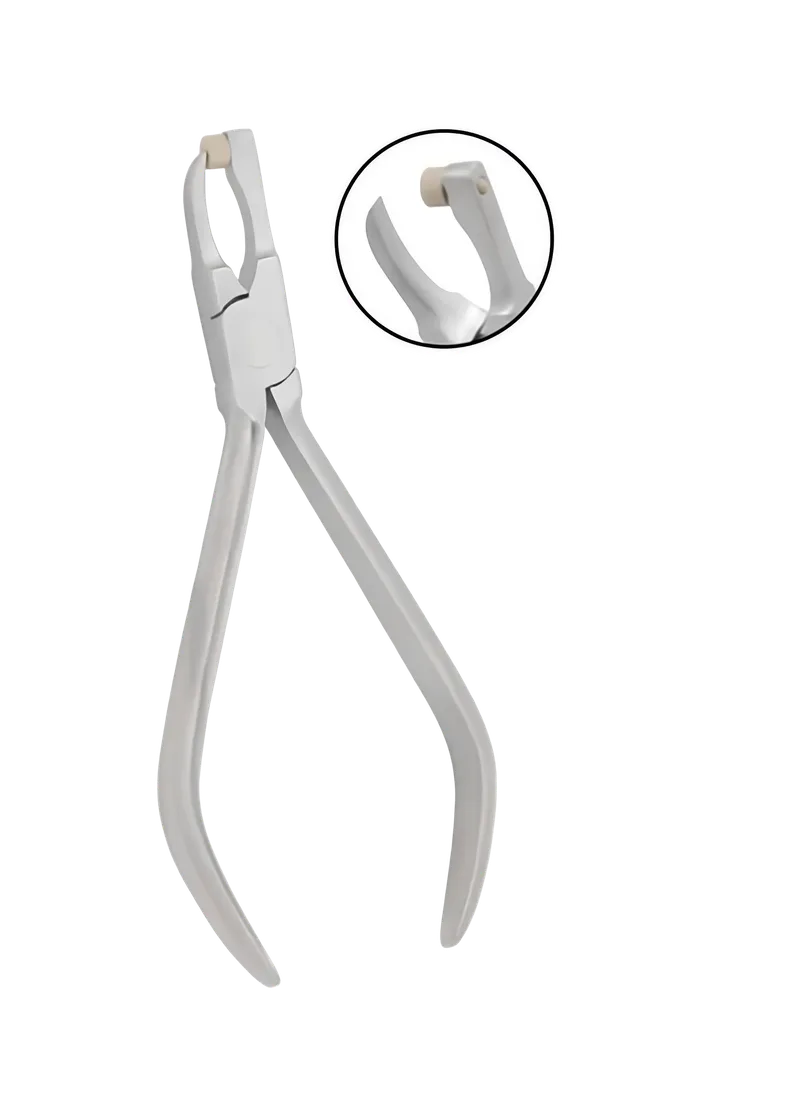
Band Removing Pliers - Long Neck 12.5 cm
EI-3172
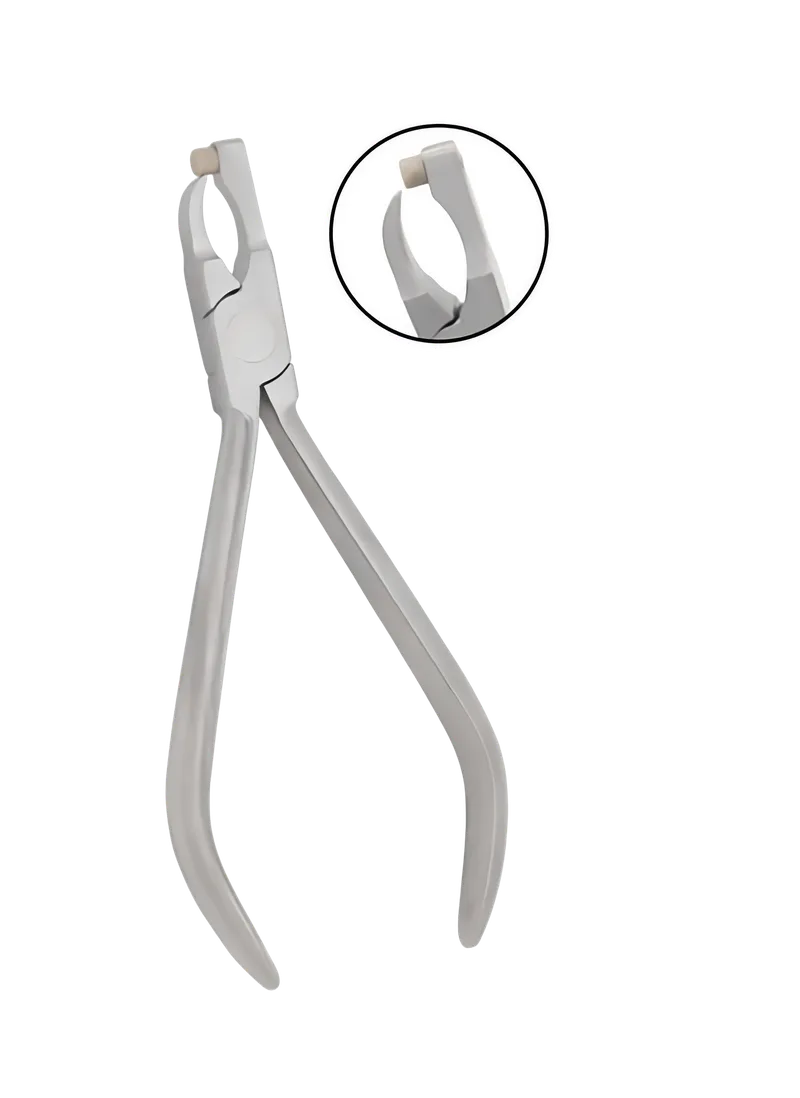
Band Removing Pliers - Short Neck 12.5 cm
EI-3173
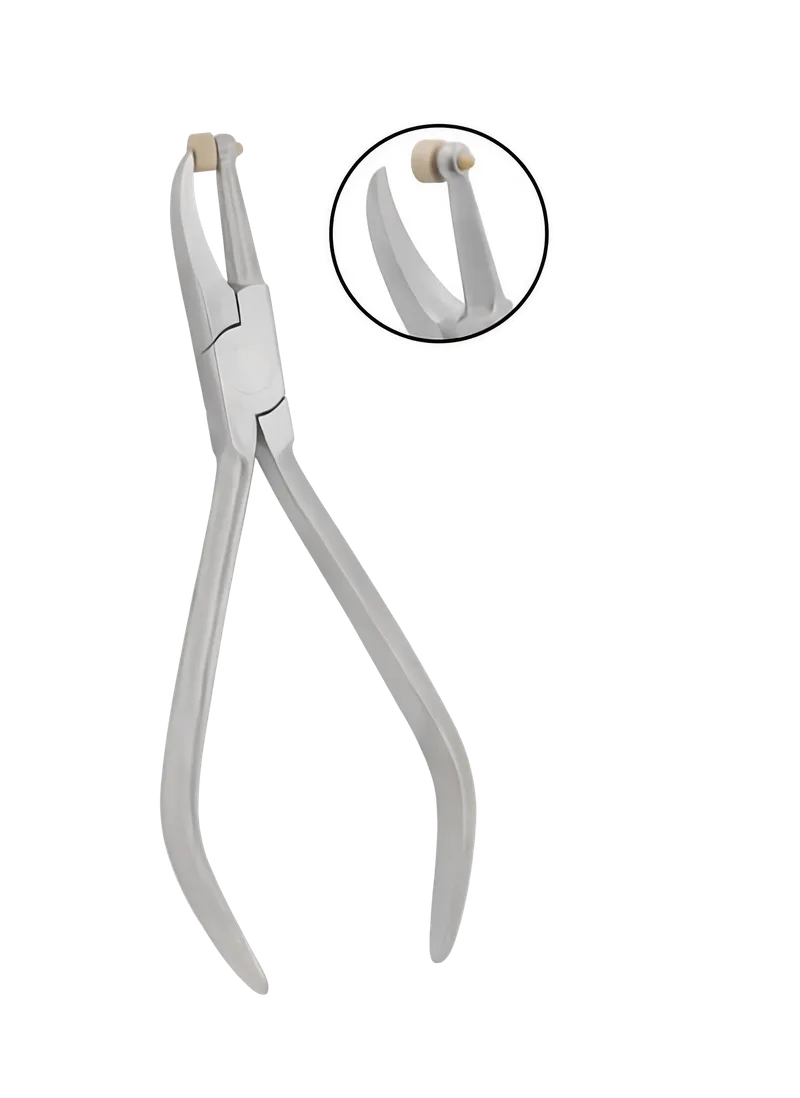
Band Removing Pliers
EI-3174
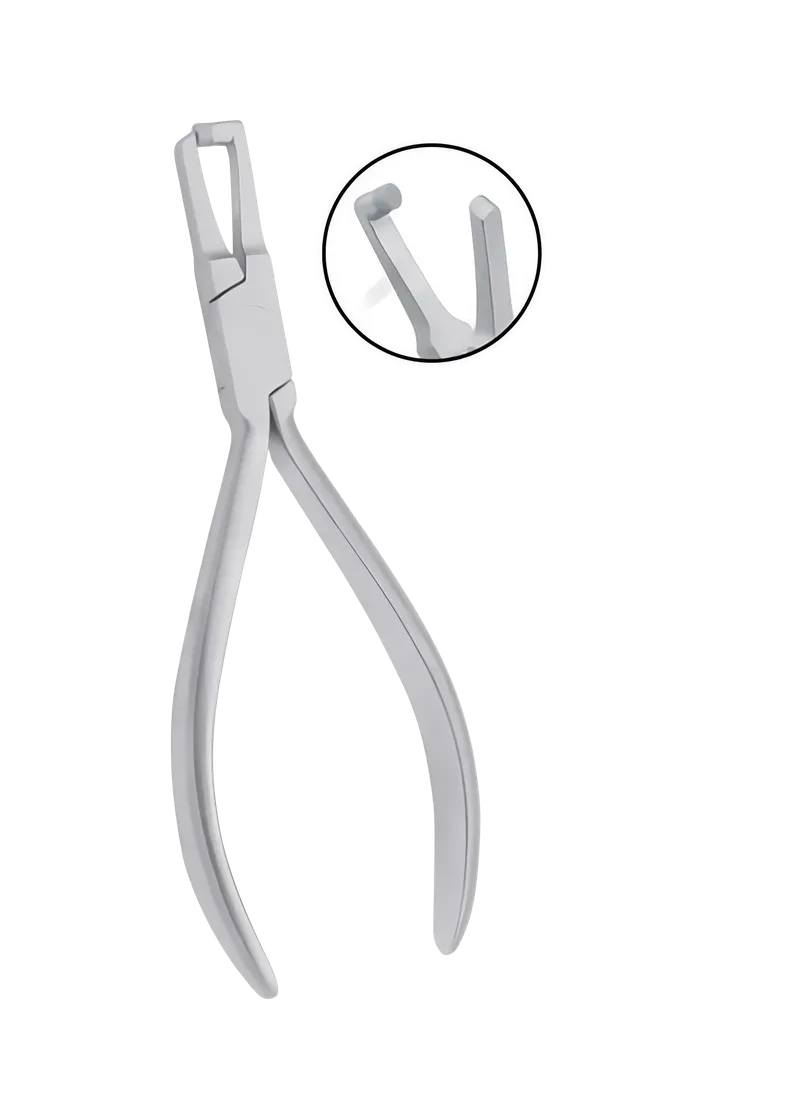
Band Removing Pliers - Long Neck 13.5 cm
EI-3326
Frequently asked questions
Does band removal hurt?
Patients usually feel pressure rather than pain. Placing the plastic tip on a cusp, squeezing slowly and supporting the jaw keep it comfortable.
Which side should I start removing a band from?
A common approach is to start from the buccal side on lower molars and the lingual side on upper molars, then switch sides if the band does not release.
How often should I replace the plastic tip?
Whenever it is cracked, compressed or worn. Many practices replace tips routinely, which is why tips are sold in multi-packs.
Can I use a band remover on brackets?
No. Brackets need a debonding plier or bracket remover designed to break the adhesive bond safely.
Short or long handle band remover?
Short handles give control on premolars; long handles give more leverage for molars. Having both is common.
References
- In vitro comparison of peracetic acid and autoclave sterilization in the corrosion of orthodontic pliers: a pilot study — Dental Press Journal of Orthodontics
- The effect of routine steam autoclaving on orthodontic pliers — PubMed
- Classification and uses of orthodontic pliers — Dentaltix clinical blog (supplier reference, used for terminology only)
I am a…